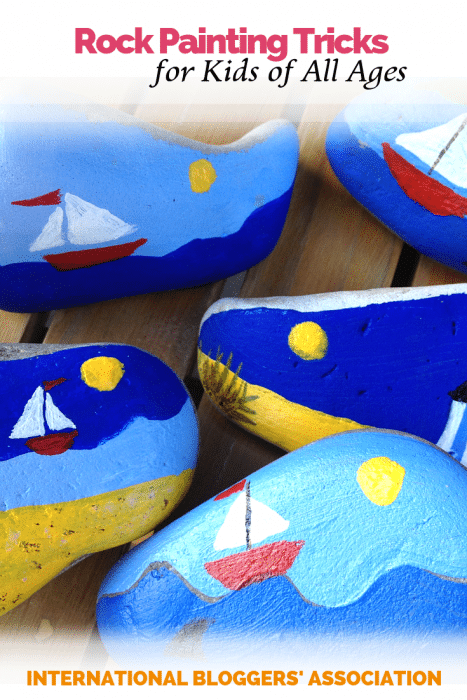
Rock painting is a simple project that everyone can enjoy. IBA Board Member, Sarah Nenni-Daher from Ruffles and Rainboots shares some simple tricks to make beautiful rocks that well… rock.
This is our Rock Painting 101 resource, all things associated with getting started with rock painting. Here at Ruffles and Rain Boots, we’ve jumped on the rock painting trend with fervor!
Whether it’s rock painting or painted pebbles you’re interested in, this is such a fun family activity.
My daughter and I both like coming up with designs and working together on them at the dining room table. It’s a wonderful activity to spend time with kids.
There are affiliate links in this article which means, at no additional cost to you, we could receive compensation for our recommendations. You can read our full disclosure policy.
Rock Painting Starter Kit
You’ve probably got everything you need to get started painting rocks. Below are a few of the supplies we use over and over, no matter the project.
Be sure to grab some cute clipart for easy story stones, too. Using clipart makes it so fun and even very small kids can do it.
- paint
- our favorite, no-fail paint pens
- gold and silver ‘cheater’ paint
- foam brushes and foam daubers
- detail brushes and clay tools (great for dotting and words)
- Indoor Sealant (ModPodge works, too)
- outdoor sealant
- oven-bake or air dry clay (we prefer to use this clay)
- rocks (Home Depot US sells bags and individual river rocks but you can use anything you can find, including slate) – note: it is illegal to remove some rocks from protected areas. Please be mindful of the local, state, and national laws.
- this rock primer to make rocks smoother for more intricate designs or a smooth finish
Tips and Tricks
- You don’t need a base coat on every rock.
- If you have a very porous rock, a base coat would be a good idea.
- Use a smaller brush than you think you’ll need, other than for base coats.
- When adding clay pieces to a rock, fit them tightly but make sure you can get them off without much warping. The pieces will get slightly smaller after you bake them.
Experiment! - Make a rock stand and save yourself a lot of trouble 😉
Mistakes and How to Fix Them and Rock Painting Tips
If you make a mistake with acrylic paint while rock painting, let it dry and then lightly scratch it off.
- Paint over them – almost anything can be covered.
- You can use nail polish remover if you have a single layer of paint to remove.
- When the paint won’t cover, wipe it off and paint it white. Then, cover with the color you desire.
- Use outlines to cover small mistakes and make the really colors pop.
Videos and Samples
Head over to Ruffles and Rainboots for video tutorials and sample projects.
 A Call to Action: Stop Procrastinating!
 Easy Photo Backdrops to Make Your Blog Photos Pop
 5 Ways to Reduce Stress When You Are Having A Terrible Day