Are you ever exhausted looking for stock photos? Seriously, how many images of Macbook on a desk can you see before you misplace your sanity! Learn how to customize a stock photo and turn it into ten fantastic graphics. Did I mention these are all done with ONE stock photo? Yippee!
10 Ways to Customize a Stock Photo originally appeared on ND Consulting by our very own Sarah Nenni-Daher. Thanks so much for sharing with us, Haley (President of IBA).
These 10 ways to customize a stock photo are some fresh ideas to get the most out of your blog photos. Bonus: you can increase your productivity if you use the same photo (and it won’t even look like the original)!
Free photos are great, but what if you find the “perfect” photo for your brand and it’s $295? If you make an investment in your business by purchasing photography or have secured a usable image fo’ free, there are so many ways to customize a stock photo!
[clickToTweet tweet=”10 Ways to Easily Customize 1 Stock Photo Into 10 Blog Images!” quote=”10 Ways to Easily Customize 1 Stock Photo Into 10 Blog Images!”]
There are most likely affiliate links in this article, which could mean I (Sarah Nenni-Daher) may receive a commission if you purchase something mentioned in this post. To read more about my affiliate partners, see my full disclosure here.
How Do We Edit a Stock Photograph?
I used the online editor, PicMonkey, to do everything in this article because not everyone has access to Photoshop. If you’ve never heard of PicMonkey, it’s a FREE little bit of magic that has been a friend to bloggers for years. I strongly suggest spending the $33 a YEAR to unlock all of the extras. I’ve had it going on 3 years now and even though I also have Photoshop, I still use PicMonkey daily.
Psst: I’m working with an image I picked from Deposit Photos. I big, squishy heart LOVE Deposit Photos because I can find almost anything there fast without having to hunt and peck around.
And I’m super lazy productive.
Update: I’ve had a lot of people ask me how long this took: I allotted 20 minutes for 15 photos and was done in 17 minutes.
10 Ways to Customize a Stock Photo
This is our original image. Pretty, right? Let’s start tweaking things a bit so we can use it everywhere without anyone getting bored of the same old image across ALL of our social profiles. #bloggernono

1: Go Bold and Be Unexpected
This is one of the most underutilized ways to customize a stock photo. Knock it out of the park and use it for fun accents or memes. Here, I used the roses in the center of the photo as a font (just use the PicMonkey mask tutorial and it takes less than 2 minutes to make).

2: Blurring or Focal Points
Many images could use a bit more white space, and similar to blurring, it allows you to draw the eye to your focal point. Here, I cloned out the ‘extras’ at the bottom of the image, added some bokeh for a shimmer effect, and then blurred everything except the roses. This definitely changes the feel of the picture!

3: Altering for Social Media
Creative cropping after editing (or before) allows you to keep a branded theme, save costs, and even time! A large enough horizontal image will work for Pinterest, so be sure to get the largest size available or that you can afford.
My original photo was 3100 x 2350 pixels and I can create a vertical Pinterest image, a horizontal for Facebook, Google+, and Twitter, and even a square image. Want to see something cool? Click on the “P” over there on the left and you’ll see another way I’ve altered this image!
If you want to know how I hid the image, visit us on Facebook here.
4: Filters / Saturation / Coloring / Contrast
There are so many ways to edit an image using filters and coloring. Many branding experts suggest to pick a look and stick with it, whether it’s a user-friendly, easily available filter like the vintage look or something you create yourself. Play around!

5: Selective Cropping, Flipping, or Mirroring
Start with the largest file size you have. Here, I cropped very narrowly, removed all other objects, and added a texture and a quote. No one could guess that came from the same picture!
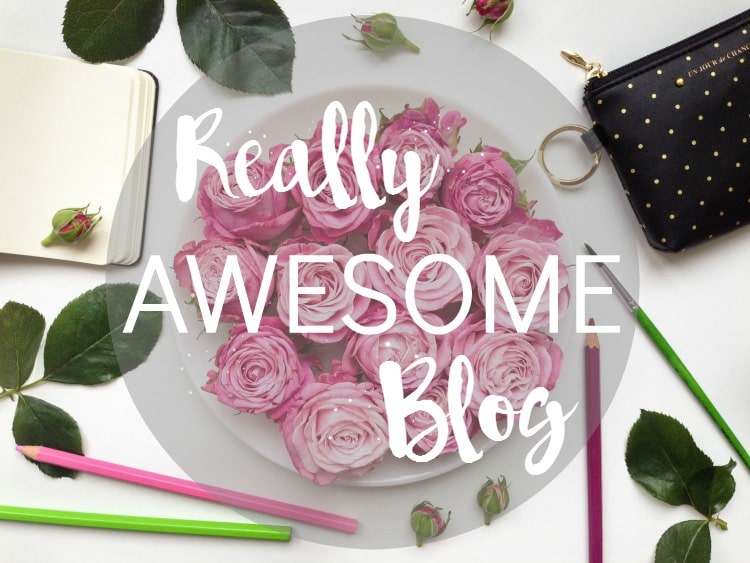
6: Accent / Overlay
This is one of the most popular ways to customize a stock photo because it takes a blogger only a couple of minutes to edit and add the overlay and title. If you’re working with many different photos, you can set the tone for a photo to better fit your branding. Easy peasy, lemon squeezy.
7: Add-ons and Customizations
The sky is the limit here, but I love to add logos to stock photographs. Here, I used PicMonkey’s “Clone” feature to remove the pencils and rosebuds and clean up the image. Then I added in my logo, set a filter, and this is all ready for Instagram!
![]()
8: Combining
You could combine two images (a beach + a neon pineapple, for example) or use a texture to change up your branding or an individual photo. This is a geometric picture overlaid (on the left) onto the original picture and I just turned the saturation all the way down to remove the color. PicMonkey has a tutorial on this one, too.

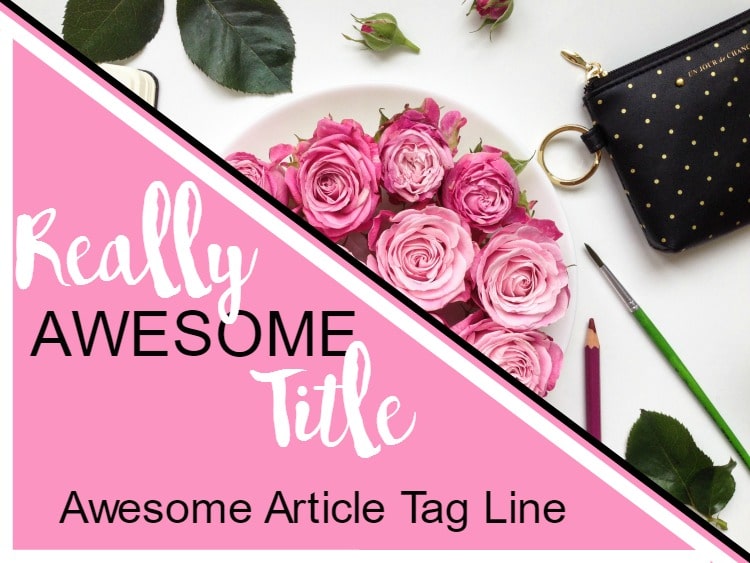
9: Covering with Branding
Create your own overlay and have a consistent, branded look to all your photos. The overlay takes about 30 seconds to drop and size onto your image, so you’re done just after you pop in a title and tagline!
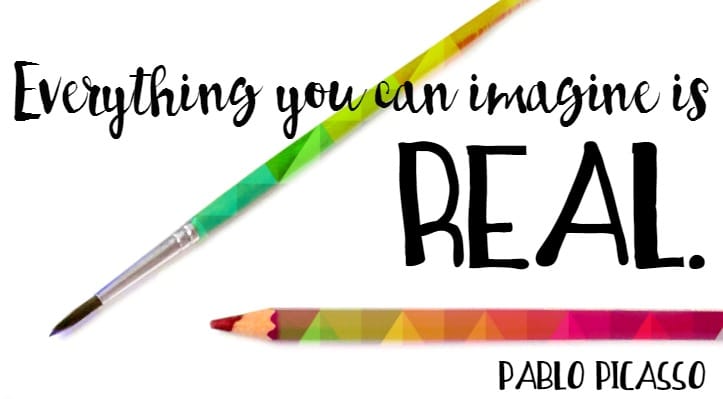
10: Quote or Meme
As-is or altered using any method, dropping in some wise words can get you a lot of play on social media. Grab your photo, add a quote, maybe a few text effects, and you’re set!

Extras
- Whether free or paid, if you find an image that fits your brand or article perfectly, look to see if there is a series.
- For great textures, type in random words in Pixabay like “geometric” or go to texturemate (free). Any image can become a texture! #squeeeeeee
Summary
These 10 ways to customize a stock photo are just a few ways to get the most out of your blog photos. And don’t forget the added benefit of working with one photo: you can do all your editing at once so you can spend more time on growing your site!
Head on over to ND Consulting for an amazing infographic and video!
 Rock Painting Tricks for Kids of All Ages
 A Call to Action: Stop Procrastinating!
 Easy Photo Backdrops to Make Your Blog Photos Pop