As we keep up with the trends in content marketing and SEO, we know that those longer blog posts (full of information) are great for our page rank and for Google’s SEO algorithms. But we also know that we can’t be writing those essays every day (or even every week)! That is why microblogging, or micro-content, needs to be our best friend. Because when we’re trying to get our content regularly seen, writing new blog posts all the time isn’t really a necessity.
What is microcontent, or microblogging?
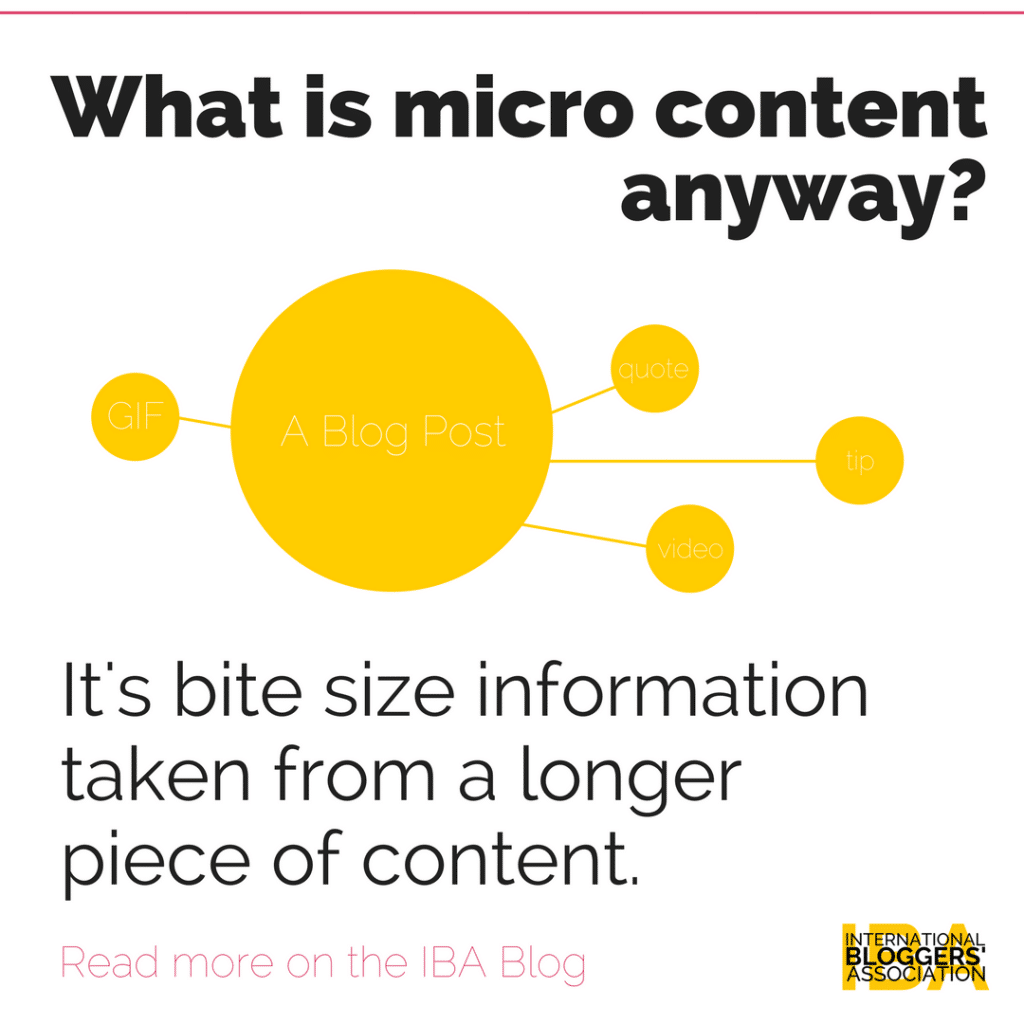
Microblogging isn’t a new concept. In fact, you are probably using it already – you’re just calling it “posting on social media.” It’s the bite-size version of the usually longer content that you publish as blog posts. Microcontent is a tweet, a short food video, a reaction GIF, or it’s even that Instagram post promoting a new blog post.
You are probably already using two main types of microcontent:
- the little pieces that make up your own content and
- the little pieces of content curated from other bloggers and influencers like yourself.
A healthy social media strategy is made up of 20% self-promotion and 80% inspirational and engaging content. And here’s the thing: microblogging fits perfectly well into either category!
In this guide, we will look at how to use microcontent to leverage the social media presence of your longer blog posts. This can also be considered as repurposing old content, but in this case, we will stick with the “micro,” or bite-sized concept. After all, why have that long blog post just sitting there on your blog? SEO plans do wonders, but why not couple it with social media for an even more significant reach?. So let’s leverage microcontent to help you get the page views you want.
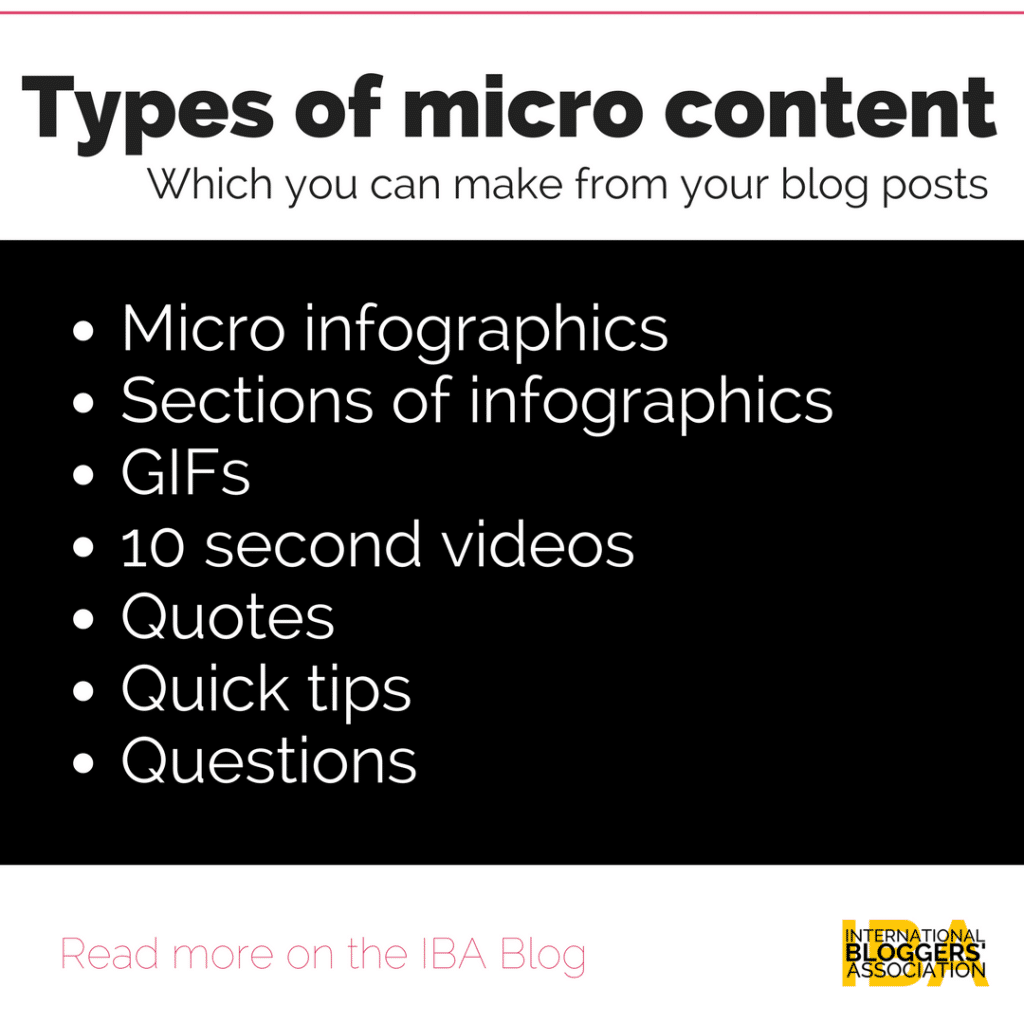
What kind of content can be considered microcontent?
- Micro infographics
- Sections of infographics
- GIFs
- 10-second videos
- Quotes
- Quick tips
- Questions
Microblog content is meant to support your long-form content on social media. What it does, is section out the content into smaller pieces, creating enough content to share for days. A great tool to achieve a wider reach is a social media automatic sharing tool. They are great for filling up your social media scheduler! (And if you’re wondering about who to choose, the IBA totally recommends you use CoSchedule!)
Disclosure: you pay the normal price, and the IBA receives a small discount for our service.
One long blog post can be turned into any kind of microcontent:
- An important quote can be turned into an Instagram post.
- A short list of tips can be made into a Pinterest image.
- A question that the blog post answers can be used as a Tweet or Facebook post.
- The title of the blog post can be turned into an animated GIF.
Once you let your microcontent creation brain run free, the possibilities are literally endless.
The transition from long form to microcontent
There’s nothing better than getting hands on to implement a new strategy, right? So let’s create some microcontent!
Open a new tab with your blog and pick one of your longer blog posts. Pick one of those that do really well, and you worked so hard on. Maybe it’s that one post that is over 1000 words long and is full of amazing information. And since it’s also the one you formatted perfectly with headings, subheadings, bullet points, maybe a quote or two, this is going to be cake. Yes, we’re still talking about the one you promoted once when you wrote it, and then it just pops up on Twitter from your CoSchedule automation. Yes, that one.
[clickToTweet tweet=”Microblogging with microcontent is a great way to add more content, repurpose old content, or breathe new life into your blog in a bazillion ways. #blogging #socialmedia” quote=”Microblogging with microcontent is a great way to add more content, repurpose old content, or breathe new life into your blog in a bazillion ways.”]
Now let’s go micro on it!
When creating micro content from your blog it’s important to always stay branded, just like you do when creating any other social media graphic. Some people create sets of micro content from each blog post, using the same template or even including the URL of the blog post in the graphic. It’s up to you if you create the micro content in sets or not, but you really cannot skip the branding.
Step 1: Get your information organized and make it super easy to visualize.
- Jot down four or five important points mentioned in your blog post.
- Copy a relevant quote that fits in with the content of that post.
- Write down some questions that your blog post answers.
Step 2: Define a strategy for your microcontent for this blog post.
- What social media platform will you share on?
- Will you take a humorous approach or a professional approach? (it should match your blog post’s style)
- How many different kinds of microcontent are you willing to create?
Step 3: Start creating your microcontent.
Open up your favorite graphics editor, video editor, GIF maker and using your strategy notes, start making the microcontent.
- Ask one question
- Write a quick tip
- Show a process visually
- Create a short video with a helpful bit of information
Step 4: Post it on social media.
According to the type of microcontent you created, share it and schedule it to be shared again later on.
- Don’t forget to include the link back to the blog post.
- Mention a little about the blog post in the description.
- Use relevant hashtags!
Visual Examples
If you are still not sure what we mean by microcontent for a lengthy blog post, take a look at the microcontent I created for this guide.
For Instagram and Facebook:
For Pinterest:

A GIF for Facebook or Twitter, even Instagram if downloaded as a .mp4

Now that you have seen how to create microcontent from your long-form blog posts, will you start doing it? You might be surprised at all the new traffic coming in, so be sure to pin this article for more ideas later!
Have you already done this? Tell us in the comments!
Love this post? Share it on your favorite Pinterest Board!

 Blogging for Beginners: How to Save Time with CoSchedule’s Templates!
 Beginner Blogging: How to Legally Create Memes and Graphics
 How to Get More Links on Instagram with Linktree